Finally I've done my assignment 1 and can update my blog already! As reminder, the theme for my e-wallpaper is
CHRISTMAS DAY. I've used many different tools and technique in photoshop to do my assignment and I'll post up my 'in progress work' in this blog also.
In progress work :

First of all,create a new file and set the setting as below.
A4 size, 72 resolution and RGB color.
Place the image that I wanted to use as the background.

This is the image.

Then, I open the other image for copy the other object that I want.
This is the one.
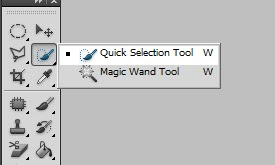
Select the
quick selection tool to select the object.

Selecting the object that I want.
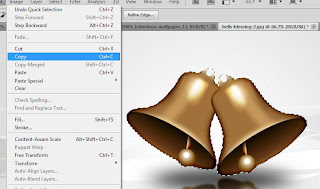
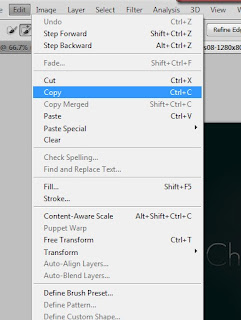
Copy the selected object. (Edit > Copy)
(Create new layer!)
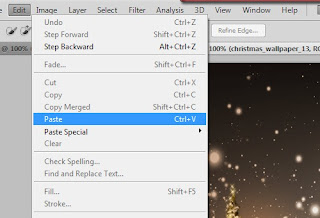
Then, paste on the background.
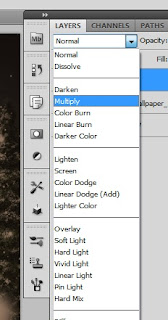
Change the
blend mode from normal to
multiply.
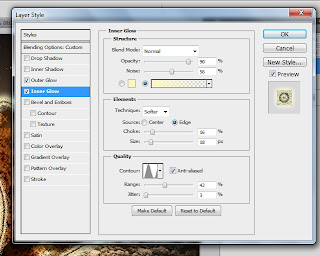
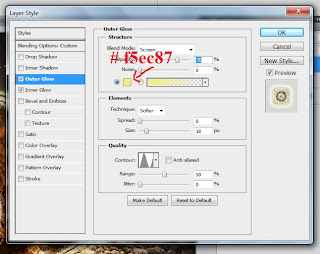
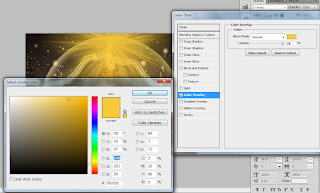
Double click on the layer to change the
layer style. Then changed the setting as above and below. (outer glow and inner glow)

Re-
fill the object, 90%
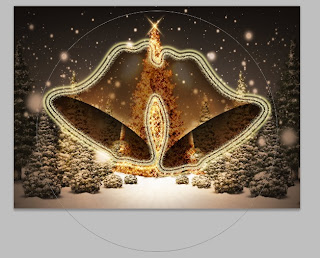
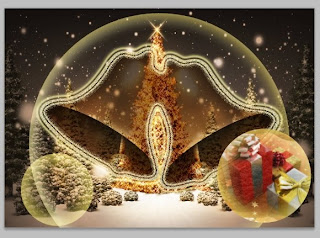
This is the current result.
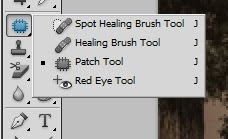
Select the background layer to retouch the image using
patch tool.
Select the unwanted subject in the image.
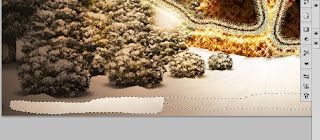
Drag to the other empty side.
(Create new layer!)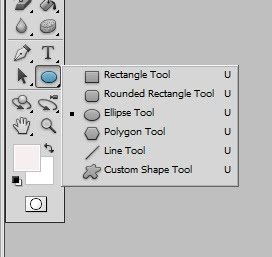
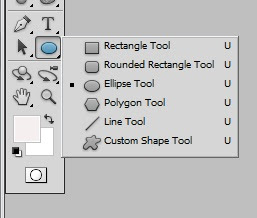
After that,select the
ellipse tool.
Draw a round shape like above.
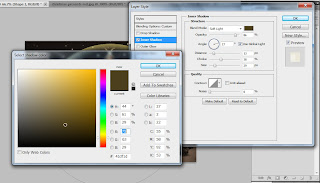
Then, change the
layer style of the layer as shown at above and below.
(outer glow and inner glow)
Current result.
( Create new layer!)
 Ellipse tool
 again to draw another circle.
Draw another small circle at the right bottom.
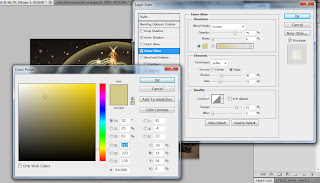
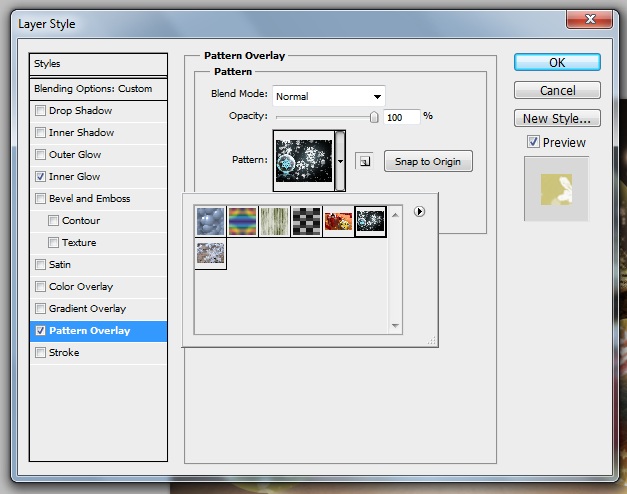
Then, set the setting in the
layer style as the 3 'prnt scrn' below :
1.
bleeding option custom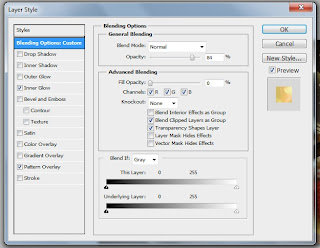
2.
inner glow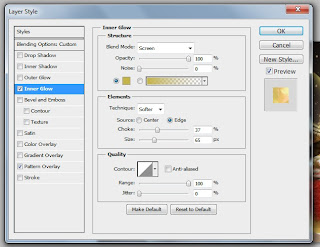
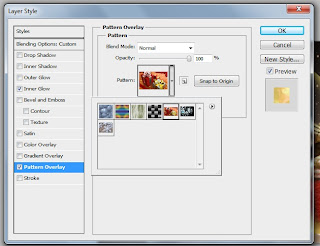
3.
pattern overlay.[selected the image of christmas present, I've define the pattern at first (open the image and then 'Edit > Define pattern') ]
 (Create new layer!)
 Ellipse tool
 again.
Draw a circle at left bottom as shown.
3
Layer styles :
1.
bleeding option custom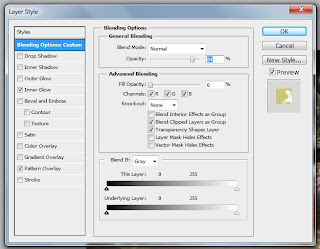
2.
inner glow
3.
pattern overlay(define pattern at first)

Current result
(Create new layer!)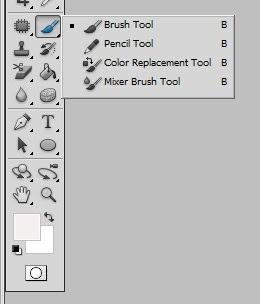 Brush tool
 is selected.
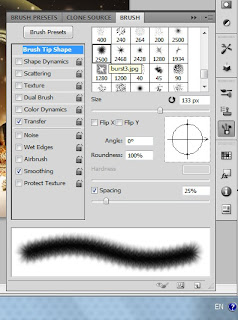
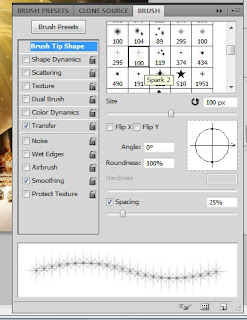
Then, '
Window > Brush' to choose the type of brush. I'm using 133px sparkling brush that I downloaded before.
Click on the top of the small circle and it is like above.
 Layer style
 >
color overlay (#f2e78a)
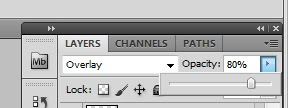
Change the
bleed mode from normal to overlay ;
opacity = 80% ; fill remain constant.
It then look like this ^
(Create new layer!)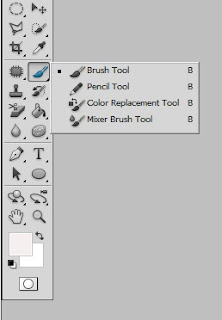
It's
Brush tool again.
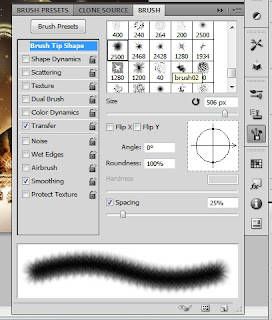 Window > Brush
 to select the type of brushes.
(large sparkling 506px was chosen)
Then click between the two bells.
Layer style :
1.
bleeding option custom
2.
color overlay (#f8c93b)
Current result.
(Create new layer!) Window > Brush
 (196px)
Click at the middle of the previous large sparkling.
(Create new layer!)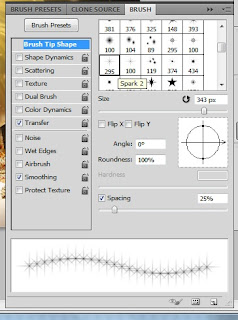 Window > Brush
 (star sparkling 343px)
Click at the place that I've marked.
(Create new layer!)
 Window > Brush
(different types and sizes)
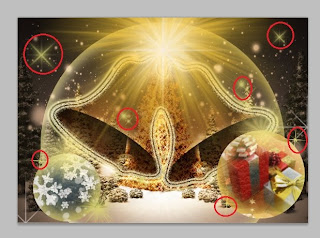
Click at the place marked.

Set the
layer style. (
color overlay)
Current result.
(Create new layer!)
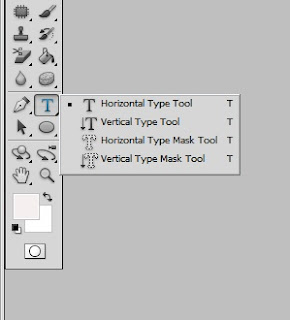 Horizontal Type Tool
 to type in some words.
( Merry Christmas)
Change the
Layer style of the word.
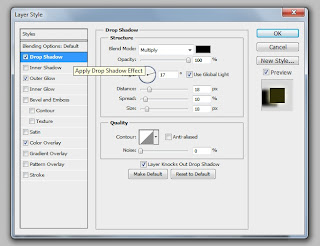 Drop shadow
 ^
 Outer Glow
 ^
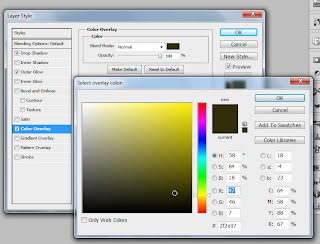 Color overlay
 ^

Current result.
After that,I've duplicated this layer for 2 times.
Horizontal type tool written :
- &
- Happy New Year
(with same layer style with the previous one)

Current result.
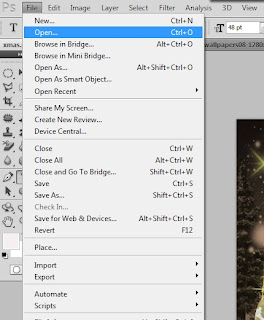
File > Open to copy another image that i wanted.
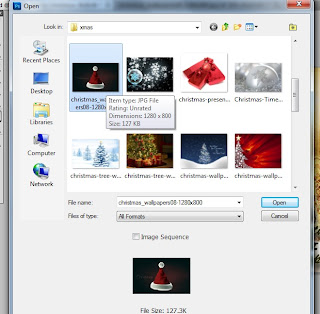
Choosing...
 Quick selection tool
 then select on the object.
Edit > Copy
back to my working file
(Create new layer!)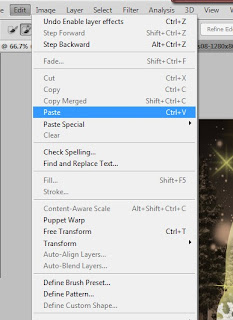
File > Paste
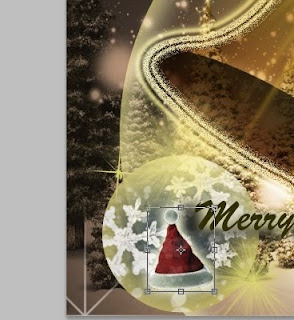 Ctrl + T
 to resize the object. Place at the place that I want.
Layer style > outer glow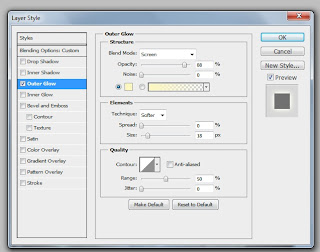
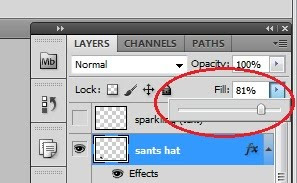 Fill = 81%
Current result.
(Create new layer!)
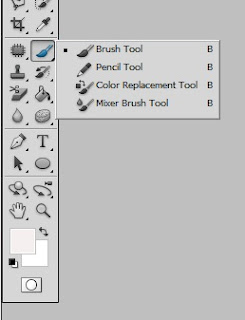 Brush tool
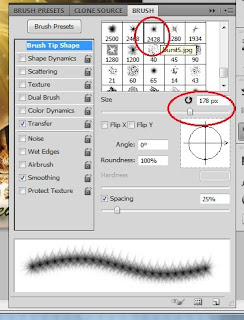
Select a medium size sparkling brush. (178px)

Click on the place marked.
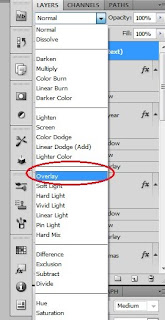 Bleed mode = OverlayTHEN,
.
.
.
.
FINALLY,.
.
.
.
.
.
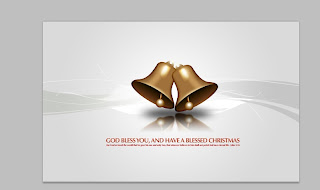
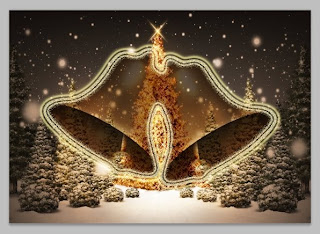
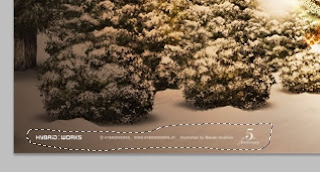
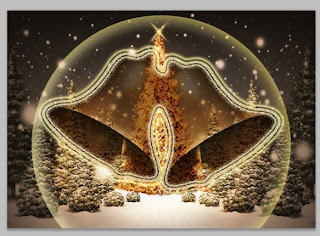
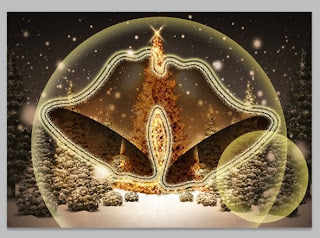
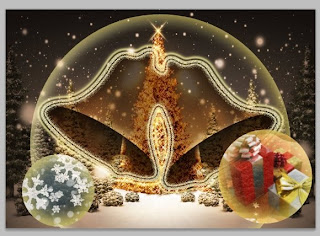
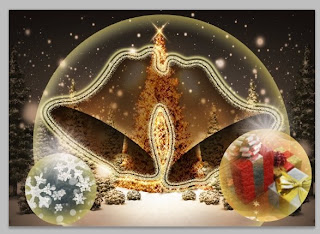
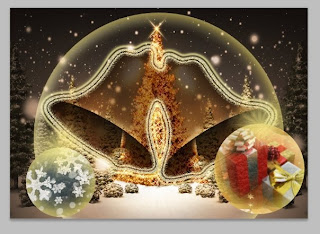
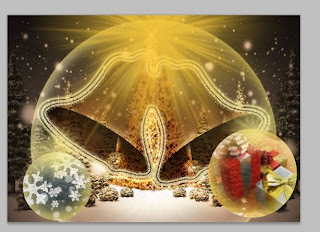
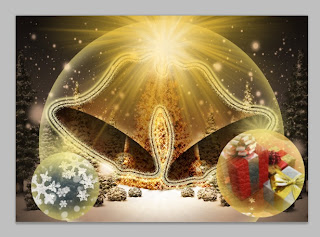
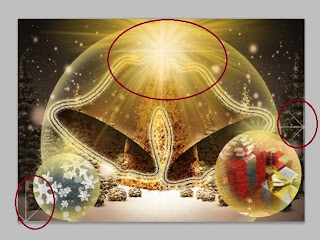
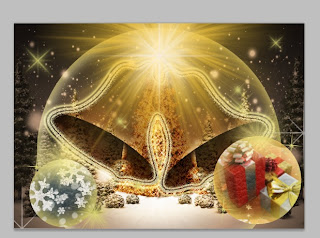
D O N E ! ! ! THIS IS THE FINAL OUTCOME !!!


 after that, i arranged all the layers and rename it properly. I did created folder for certain layers too so that it would not confuse me. Then, inserted keyframe for all layers until around 310.


